Showing posts with label Home Ec. Show all posts

Monday, July 30, 2012

The ConstantlyAlice Manifesto Revisted

Today, it struck me that it has been some time since I've done a Pin up Plan post.  I sort of left it off somewhere in the middle of the "Art of Seduction" series and haven't been able to motivate myself to finish the series.

This led me to think about the ConstantlyAlice Manifesto I wrote in January and all the plans I had for this year.  I decided to take another peek at it and track what I had accomplished thus far, and then tweak or revise the things that weren't working for me.


1.  30 Day Make Over challenge - I haven't started this just yet..I think because the fall is my favorite time of year, perhaps Sept. or Oct. will be a good month to tackle this project.

2.  Vision Boards and The Signature Style Project - The vision boards are ongoing!  You can check them out here on Pinterest. (The trick, however, is to DO something with them..more on that in future posts..I think I need to do something with them here for accountability ;)  The Signature Style Project is all wrapped up.  You can check out the series, if you haven't already, here.

3.  Home Ec Posts - These have slowed down a little..the most recent one being a paper necklace tutorial done over on the French Press Vintage blog.  I'm trying out a few new projects and plan to start adding a few more of these posts.

4.  Modeling/Pin up Plan - I have added an outfit post series and gotten in front of the camera a LOT more..however, I have revised my intentions for this particular goal.  Modelling for the shop itself seems a bit more than I can handle (especially since I'll require a photographer!)  I also prefer to be the "creative force" behind the camera.  SOO, I will continue to be the "head model" for the hats, etc., but the clothing will either be modeled on "Esmerelda" my dress form, OR, on my oldest daughter and her friends (depending on the outfit and the size.)  We'll see how that works out ;)  In regards to the Pin up Plan..I don't think my heart is in it right now.  I have so many other things to focus on (including my goals for the "Slim Down, Pin Up", project), that I don't feel I have the time to dedicate to really fleshing out this series..it's going on hold for a bit and I may revisit it later.

5.  Disney! - I went, I saw, I conquered ;-)  Here are some of the photos from our trip (and a lovely video of the "Bug Butts" song and dance).  I did not, however, manage to get around to making my wardrobe...I think this goal may shift to the fall.  I would like to make up a few new items for the cooler weather..more to come on this.

6.  Go Ask Alice - Finally, the "Go Ask Alice" feature, where I post responses to questions regarding, vintage, styling, sewing, and misc. "ConstantlyAlice" related features.  I'm working on the logistics of this and hope to launch it before the winter ;-)

Phew!  Not too shabby, considering that we still have another 5 months in the year!

Is there anything special YOU would like to see here on the blog?  Let me know by leaving your suggestions in the comments!

Hugs and Smooches,
D

Tuesday, May 29, 2012

Home Ec Tutorial - The May Flowers Necklace

My wee Mum has a birthday coming up on May 31st.  It's pretty appropriate that she was born in the month of "May Flowers" since she has two green thumbs.  Here's a (small) example of her gardens.


So, I decided the most appropriate gift for her would be to make a necklace with a "May flowers" theme.  Here's what you'll need to get started:
  • 4 different weight chains (you can re-purpose old necklaces that you don't wear anymore for this, or purchase new chain.)
  • Head pins (for beading)
  • Jump rings (various sizes)
  • Clasp
  • Flower shaped beads (I used Laliberi, which I loove, and you can find them at Joann's)
  • Bicone beads
  • Needle nose pliers and wire cutters
  • Flower brooch

First, you're going to take one of your heavier weight chains and cut two pieces approx 9" long.


Next, take the lightest weight chain and cut it to 16.5"


Cut your third chain (preferable one with a little embellishment, like the one here) to 18.5"


Your last chain (this one has some rhinestones on it for visual interest) should be about 20.5" long.

Your next step will be to attach the 3 longest pieces together on each end with a jump ring.  Then add your shorter length of chain to each side.  When they're attached, they should look like this on each side.


Attach the the clasp pieces with a jump ring to the loose end of each of the shorter pieces like this.


Now you're going to add a few clusters of flower beads to the center chain (the one you cut to 18.5")

Start with a head pin and slide a bicone bead onto it.  (You could also use pearls here if you prefer.)


Next, add a floral bead.

Using your needle nose pliers, bend the wire to a 90 degree angle.  Clip off excess with wire cutters, leaving just enough to make a small loop.  (Don't cut too much!  It's easier to make it shorter if you need to, but you can't add length back on.)


Using your pliers, bend and shape the wire into a small closed loop.


Make several of these using different combinations of beads and then attach them in little clusters with a jump ring at even intervals along the center chain.


Attach your brooch to one side of the necklace where the grouping of chains meet the shorter chain and voila!  A May Flowers Necklace :)


If you decide to make your own, I'd love to see your variations!  Post them on my facebook page here.

Hugs and Smooches,
D

Tuesday, March 27, 2012

Home Ec Post - Chez Moi, Part Deux

As promised, here is the follow up to this post featuring a little peek into my home!

I love to repurpose items.  Curtain rods as jewelery displays, scarf holders and headband racks.  Fabric stretched into embroidery hoops to display earrings and brooches.  Cheese graters as earring displays.  Your only limit is your imagination!

Part of my hat collection..
..more hats..
...umm, yeah.  Hats.
Hat forms, so I can make my own hats!
Bird under glass
Eva
I stretched fabric across the back of this frame and added a ribbon so I can change out the pictures with the seasons.
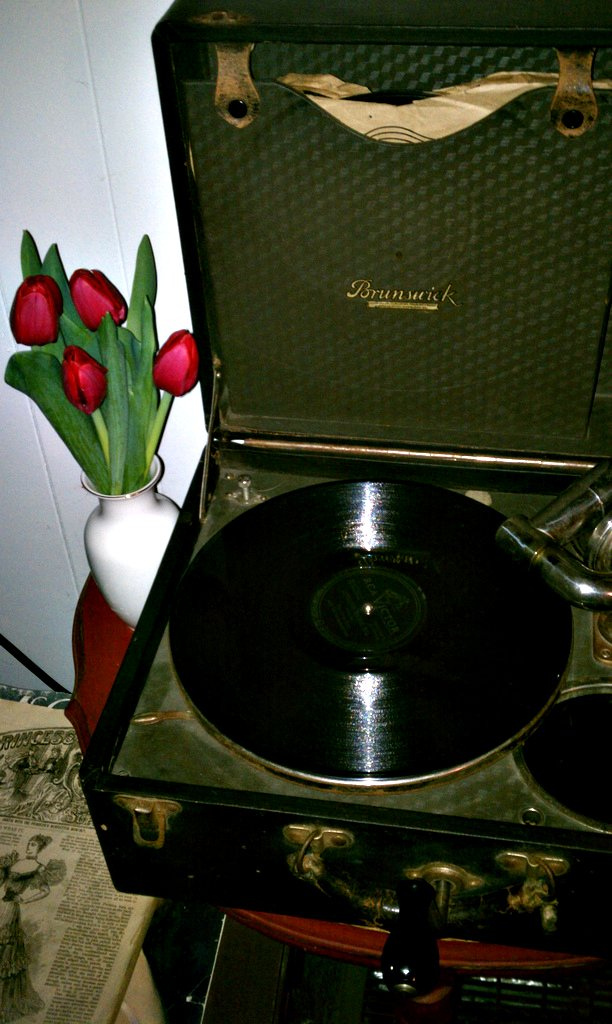
My Phonograph <3
My typewriter (on which I plan to write the great american novel..)
My phone (and to be honest, the only reason I still have a landline ;)
Embroidery hoop + Fabric = A great way to display earrings..
..or brooches!
Curtain rod + Scrap of rug rolled into a tube makes a great headband display.
Curtain rods also work as scarf displays..or..
..with curtain hooks to display necklaces
Another easy earring display, frame with mosquito netting stretched across the back..
..or an old cheese grater!
That's it!  Thanks for taking a tour of my home with me :)  If you'd like to take a peek at some of my inspiration, you can go to my "for the home" pinterest board here.

Hugs and Smooches,
D

Thursday, March 22, 2012

Home Ec Post - Chez Moi, Part 1

The weather this week has been BEAUTIFUL!  Whenever spring arrives, the first thing I want to do is throw open my windows and let the fresh air in..and of course start my spring cleaning.

Going through some of my treasured items and giving them a good washing and dusting made me think that it might be fun to do a few home ec posts to share my home and how I decorate it with you!

My decorating philosophy can be summed up in 3 words.  Whimsical, Colorful and Cozy.  I feel like a home should be a refuge.  It should be welcoming, friendly and relaxing, a joyful place to spend time.  Some of the things I do to make my house a "home" are:
  • Paint - I use copious amounts of paint.  I paint the walls, I paint the ceilings, I paint murals, furniture and frames.  Acrylic, latex, spray paint.  Doesn't matter.  When the spirit moves me, I throw on my overalls and have at it.  Paint is an excellent way of changing the look of something without spending a lot of $$.
  • Color - Color has such an impact on the feeling of a room.  Cool colors like blues and greens make a room seem serene, vibrant yellows and bright whites are cheerful, warm creams, reds and oranges are cozy and inviting.  Play with color swatches until you find the ones that feel right for you!
  • Collections - I like little displays of "like" items.  It says something about who you are and it provides a little visual interest.  Some things I like to collect are teapots, salt and pepper shakers and (of course) hats!
Here are some of the parts of my home that I love..more to come in the next post!

My favorite Wedgewood teacup makes drinking tea an "event" ;)
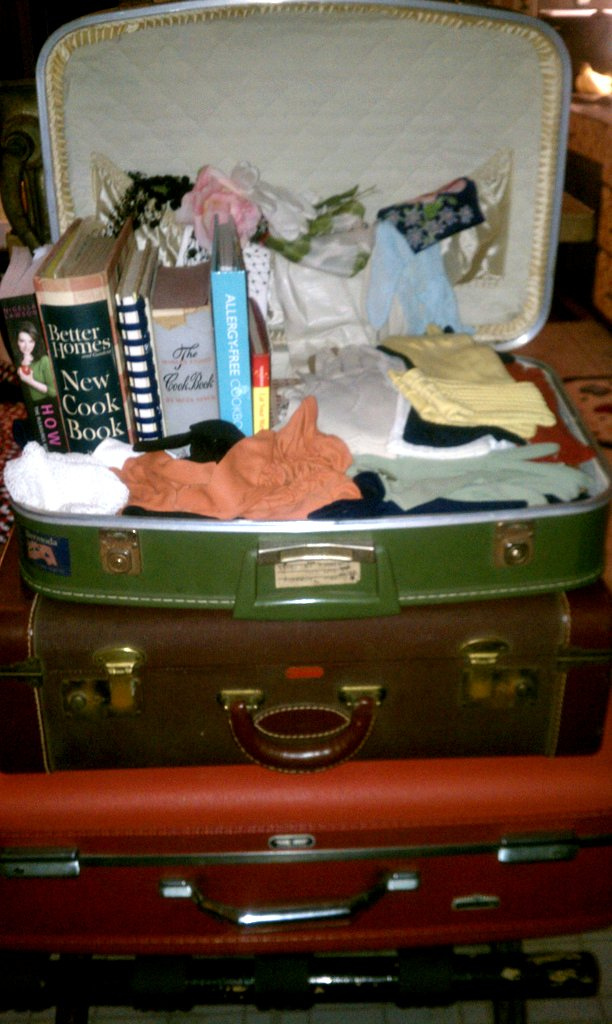
I love vintage suitcases as storage.  They make such a pretty display!  (These are FULL of fabric ;)
I use multiple colors in my kitchen, but they all tie in together.
A close up of my favorite salt and pepper shakers.  They always make me laugh :)
I found the "Great American Nut Machine" at a thrift store and couldn't pass it by..though it usually houses M&M's
My bathroom walls are an ever growing mural of birds.  I add a little more each year!
Little groupings and details make all the difference.
In keeping with the bird theme, a bird house holds my toiletries
Petunia the flying pig
My books are my pride and joy..this only represents a small number of them.  They are stacked, piled and displayed everywhere.  My favorite collection ;)
Fireplace mantle..and more birds ;)

Hugs and Smooches,
D

Thursday, January 5, 2012

Guess Who's Joined the 1912 Project??

Meeeeee!!  I'm so excited to be able to share this with you :)  Here's how it works..

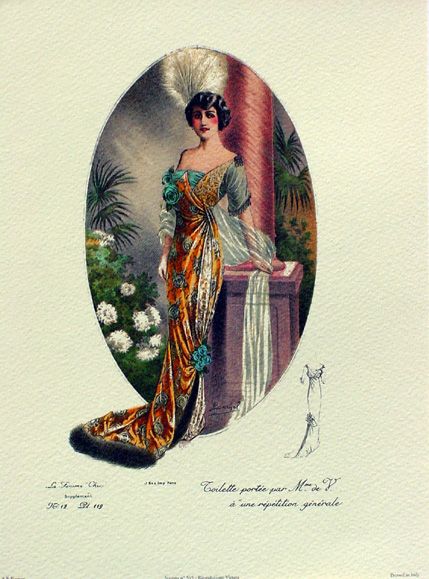
The 1912 project is being sponsored by the Vintage Pattern Lending Library.  They plan to reproduce approximately 150 patterns from the 1912 issues of the French fashion journal La Mode IllustrĂ©e in honor of the 100 year anniversary of the sinking of the TitanicThe patterns will be a combination of Women's, Men's and Children's fashion (though I have requested to only recieve Women's fashions) and will culminate at the end of 2012.  The sewists involved in the project will be testing the patterns (and to be honest, friends, it will certainly be a test for me.  Minimal instruction about the construction, which will mean some trial and error..you may hear me shouting things like "Holy Bananas!" or "Son of a Gun!" in an effort to curb my cussing..) and posting their progress on their blogs, or on the VPLL blog site.

I will be incorporating these posts as part of the Home Ec series so you can all follow along.  I plan to use images from vintage photographs (and Downton Abby, of course!) to inspire my fabric and color selections.  Here are some that I am in loooove with right now:


Credit

Credit

Credit

Credit
Credit
I'm already crazy about the gorgeous jewel tones and sumptuous fabrics!

If you would like to be involved, you can visit The 1912 Project or email the VPLL at vpll.librarian@gmail.com

I'll post the second I recieve my first pattern and let you know what's in store!

Hugs and Smooches,
D

Tuesday, January 3, 2012

The ConstantlyAlice Manifesto

"Marilla, isn't it nice to think that tomorrow is a new day with no mistakes in it yet?"
- Lucy Maud Montgomery, Anne of Green Gables
 

This is one of my all time favorite quotes and I think of it every time I'm looking at a brand new year stretching out in front of me.  Isn't it wonderful to think that we have a whole new year to expand our knowledge, push our boundaries and live to our fullest potential?  (Or, you know, even just another year we get to snuggle in on the couch with a good book and a cup of Chocolate Dream tea??)

I think it tends to have even more significance for me because I'm a January 1 baby.  That means when y'all are celebrating a new year, I get to celebrate another year of my life ;)  Pretty heady stuff, right?

With that in mind, I'd like to share with you some of the things I've been cooking up for the coming year!


1.  Who doesn't love a make over?  Or a whole LOT of make overs!  I'm planning for a 30 day challenge this year for both hair and make up.  I will test out a new hair style or make up look each day for a month and share the photos with you all as a part of my Signature Style Challenge (more on this to follow). {Picture Source}

2.  I will incorporate more vision boards and pinterest posts in an attempt to determine what styles I gravitate towards the most.  Some will be all about a specific decade, some will feature a particular shop or website, but hopefully all will help me to nail down the details that will help me to build my Signature Style. {Picture Source}

3.  The Home Ec posts will continue!  Some topics for this year;  Hat making, Repurposing worn or poorly constructed items to create new looks, Style on a budget (This will involve putting together an entire outfit at a local thrift store for $15 or under), Sew and Knit Alongs, Etiquette, Planning a Party and a few more I have to iron out the details on! {Picture by Gil Elvgren}

4.  *Gulp* Modelling.  That's right, I said it.  I am working on adding some more exercise to my routine so I can tone up a bit and maybe work up the gumption to model for the shop and for the "Style It" posts here on the site.  I'd like to have the shop pictures reminiscent of the pin up gals of the 40's.  I'll be sure to keep you in on the adventure as I dive into posing, photography and styling! {Picture by Vaughan Bass}

5.  My folks gifted us with a trip to Disney for Christmas this year (Thanks Mum and Dad!)  We're heading down for April vacation and I have plans to pick out several vintage dress/play suit and maybe even a bathing suit pattern to sew up and take along with me.  I will share the patterns with you, the progress and the end results.  (And of course, the pictures of Disney!)

6.  I also plan to add a "Go Ask Alice" feature.  This will be to cover any questions you all may have for me regarding vintage (how to date vintage items, what basics are needed for a wardrobe from each decade, etc.)  Feel free to start emailing me your ideas now! {Picture Source}

I can't wait to dive in and get started on these projects!  I'm so looking forward to a wonderfully productive 2012 :)

Hugs and Smooches,
D

Saturday, December 10, 2011

Home Ec - Mackinac Island Fudge

It's here!  The second in the home ec post installment!

A little while ago, I reviewed "A Very Vintage Christmas" and promised you all a post on some of the yummy candy recipes included in the book.  Sadly, I neglected to remember the corn syrup for the caramels so we're just going to make fudge today (but I'll include the recipe for caramels at the end!)

Ingredients

First thing to do is gather all your igredients together.  Fudge making is a finicky business (though, fortunately, this recipe is old enough to not require a candy thermometer!) and you'll want to have everything handy.  Here's the list:


I would also add, a medium to large sized pot, a measuring cup and measuring spoons, a spoon for stirring, and a large rectangular pan.  You can also double the recipe, which is what I did, if you want to give some as gifts.

First you are going to combine the milk (I used cream because I prefer the texture, but you can stick with the recipe if you're more comfortable!) brown sugar, white sugar, butter and salt in your pot  and begin heating it on medium.
I would suggest a slightly larger pot than this one..I underestimated and made a (yummy!) mess


Mmmmmm...butter and cream...

You're going to need to stir frequently during this process.  Once the mixture comes to a boil, set your timer for 6 minutes and keep on stirring.  (It helps if you have an obliging elf handy to help with this part..)
My oldest daughter Shann the Ham ;)


Once your six minutes are up, remove the pot from the burner and add in your vanilla, cocoa powder and powdered sugar.  Keep on stirring and blend, blend, blend!  You want a nice smooth consistency.

After it's all blended, pour it out into your pan to cool.  It should look like this:

Put it in the refridgerator to chill for 20 min.  Then you can take it out and cut it into bricks to wrap in wax paper and put in pretty boxes for gifts!


..or you can cut it into cubes for a snack ;)


That's all there is to it!

Annnnnnd... as promised, here is the caramel recipe, in case you're feeling ambitious ;)

Ingredients:

  • Line a 9x9 inch pan with parchment paper.  Allow some of the paper to hang over the sides.
  • In a heavy sauce pan, combine all ingredients except for the vanilla.
  • Gradually bring to a boil, starting on low heat, then medium, then med. high as the ingredients come together.
  • Stir continually, remembering to scrape the sides and the bottom.  Using a candy thermometer, monitor the temperature.
  • When the mixture reaches 250 degrees F, remove from the heat and stir in the vanilla.
  • Pour into the pan and let cool completely until set.
  • Lift the caramels out of the pan using the parchment paper, cut into cubes and wrap in waxed paper or cellophane to give as gifts.
Happy snacking!

Hugs and Smooches,
D
Related Posts Plugin for WordPress, Blogger...